Table of Contents
PowerTeacher Quick Reference Guide
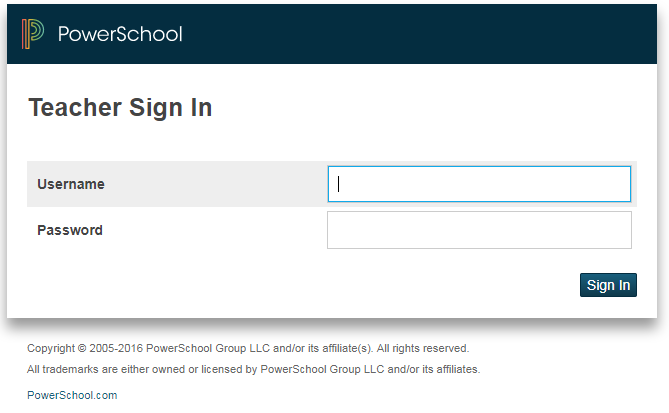
Logging in to PowerTeacher
- Note that a new user must request a new account by filling out the on-line Account Request form.
- Log into PowerTeacher at https://powerschoolapp.wcs.k12.va.us/teachers.
- Enter your Username and password, and then click on Sign In.

Navigating PowerTeacher
The PowerTeacher Start Page serves as the central point form which you begin your PowerTeacher session. It consists of the following areas:
- Navigation bar
- ID bar
- Main menu
- Current classes
Personalizing PowerTeacher
To change your password:
- Navigate to Start Page > Personalize
- Click Change Password
- Enter the old password
- Enter the new password
- Verify the new password
- Click Submit
To set the default student screen:
- Navigate to Start Page > Personalize
- Click Default Student Screen
- Select the screen from the Default Student Screen menu
- Click Submit
To show or hide the section numbers on the PowerTeacher Start Page:
- Navigate to Start Page > Personalize
- Click Display Section Numbers
- Select “yes” or “no” from the Display Section Number on PowerTeacher Home Page menu
- Click Submit
Taking Attendance
It’s easy to take attendance in PowerTeacher. As soon as teachers take attendance, student attendance information becomes available to school administrators, parents, and students.
- Navigate to Start Page > Chair icon (next to the class for which you want to take attendance)
- Select the Date
- Select the Current attendance code
- Click the cell next to a student’s name to assign that code
- Click Submit
*Note: Even if all students are present, teachers should click the Chair icon to open the attendance screen, and then click Submit. This tells PowerSchool that the teacher has taken attendance.
Viewing Student Information
Access the Student Information Screens by clicking the Student Information icon for a class, then clicking a student’s name. More than a dozen student screens are available through the Select Screens menu. The following table provides a brief explanation of the student information screens available in PowerTeacher.
- Navigate to Start Page > Student Information icon (next to the class you wish to view)
- Click a student’s name
- Select a screen

Printing PowerSchool Reports
Teachers can print school-related reports such as form letters, report cards, and mailing labels for individual students, one section of students, or for students in all of the sections they teach provided that they have been given permission to do so. Only those reports that have been made available to teachers will available in the PowerTeacher print reports menu.
To print PowerSchool reports for an individual student:
- Navigate to Start Page > Student Information icon
- Click a student’s name
- Select the screen Print A Report
- Select which report you would like to print
- Select the Watermark Text, if applicable
- Select the Watermark Mode, if applicable
- Select when to print the report
- Click Submit
To print PowerSchool reports for one section of students:
- Navigate to Start Page > Printer icon
- Click a student’s name
- Select the screen Print A Report
- Select which report you would like to print
- Select whether to run a Test Print, if so, enter the number of pages to print
- Select the Watermark Text, if applicable
- Select the Watermark Mode, if applicable
- Select when to print the report
- Click Submit
To print PowerSchool reports for all students:
- Navigate to Start Page > Reports icon
- Select which report you would like to print
- Select whether to run a Test Print, if so, enter the number of pages to print
- Select the Watermark Text, if applicable
- Select the Watermark Mode, if applicable
- Select when to print the report
- Click Submit