munis:po_receiving
Table of Contents
PO Receiving
PO Receiving is the process of telling Munis what items on a PO have been received. You will also be scanning in your packing slips for the items you are receiving.
Scan in Packing Slip
The first thing you need to do is to scan in your Packing Slip. You attach the Packing Slip to the PO itself as a PO Receivable.
- Follow steps 1-4 in PO Inquiry, Printing/Saving, Activity to find the PO you are working with.
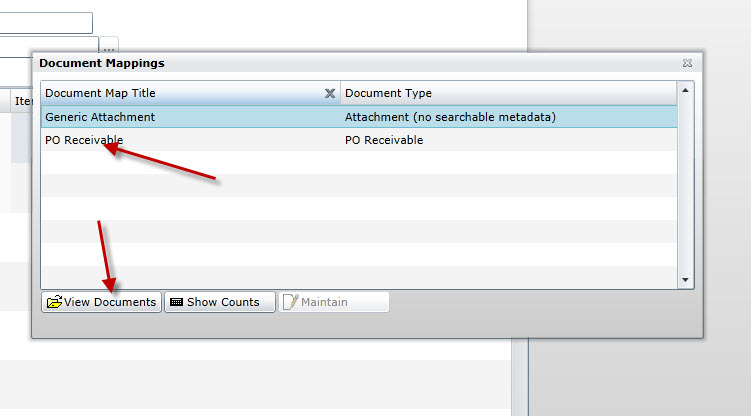
- You need to scan in your packing slip next. Click Attachment, select PO Receivable and then click View Documents:
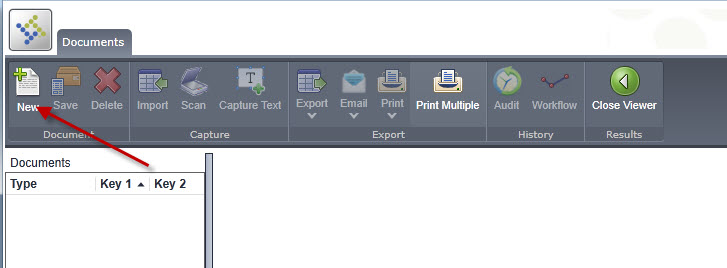
- Click New on the Documents screen:
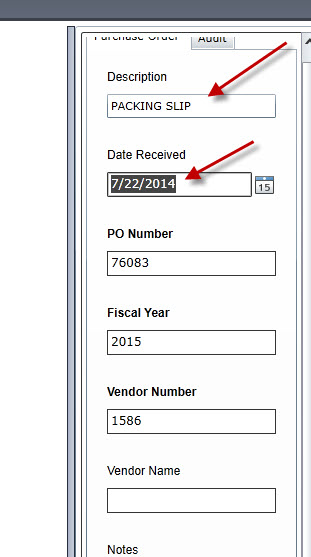
- Enter PACKING SLIP for the Description along with the Date Received. The other fields will be filled in automatically for you:
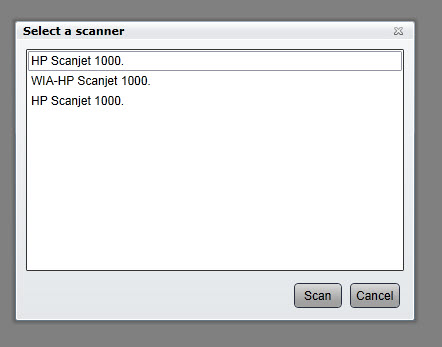
- Click Scan to scan the packing slip in from your scanner. In these examples, it shows the small HP Scanjet 1000. Your screen may be a little different if you are using a different scanner.
- Select your scanner from the list. If there are multiple ones, choose the first one in the list:
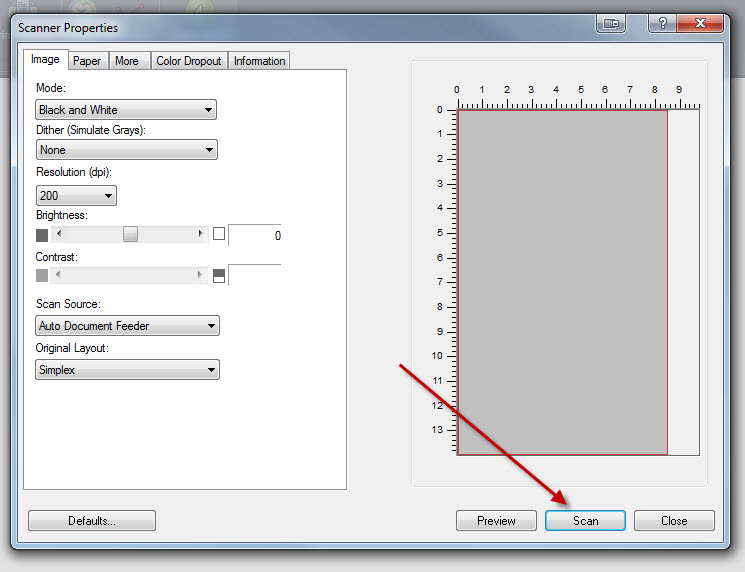
- You can usually select the defaults on the scanning screen. Get your packing slip loaded into the scanner and then click Scan:
- When it finishes scanning, you will be taken back to the Documents screen and your recently scanned document should appear
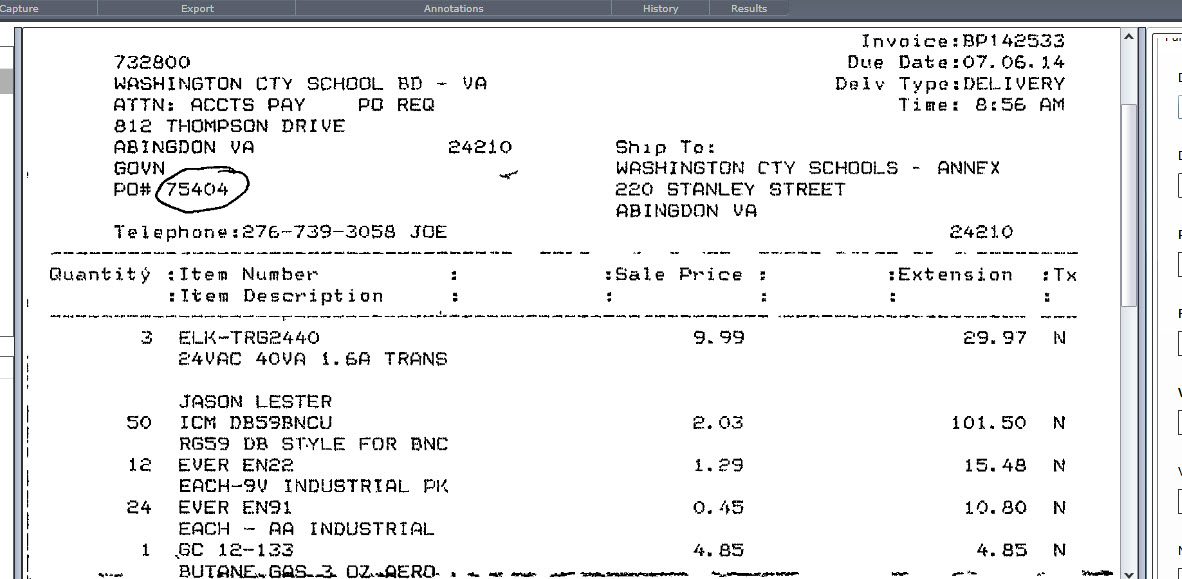
- Click Save and then Close Viewer to go back to the PO Inquiry page.
Mark Items as Received
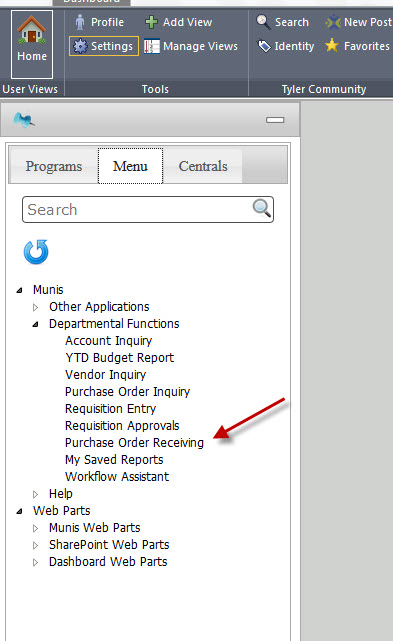
- From the main Munis menu, expand Departmental Functions and choose Purchase Order Receiving:
- Choose Quick Receipt from the menu:

- Enter the current fiscal year and PO number you are receiving:
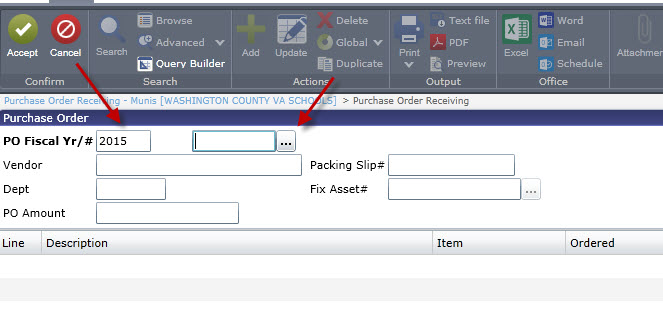
- You can also click on the ellipses to bring up a list of POs:
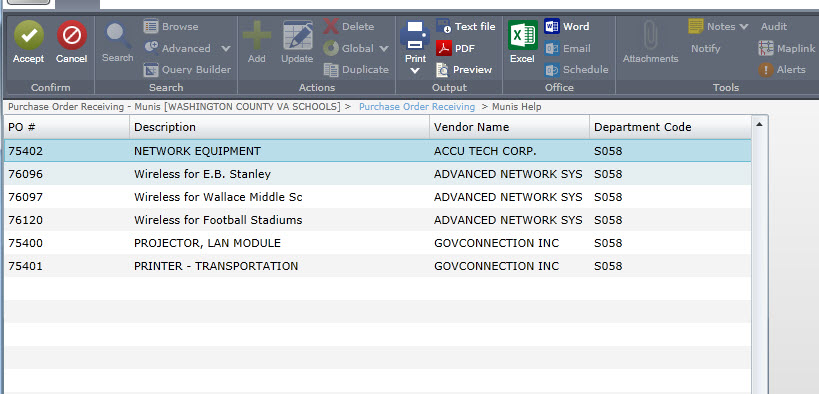
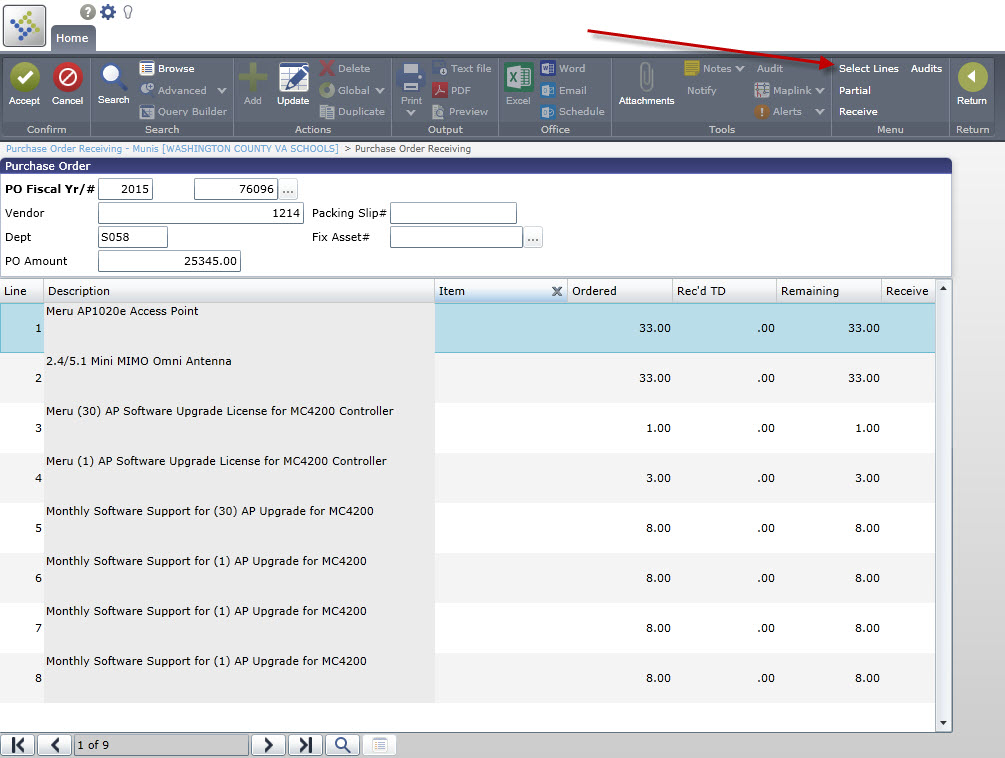
- From the PO Receiving screen, choose Select Lines to mark which lines have been received:
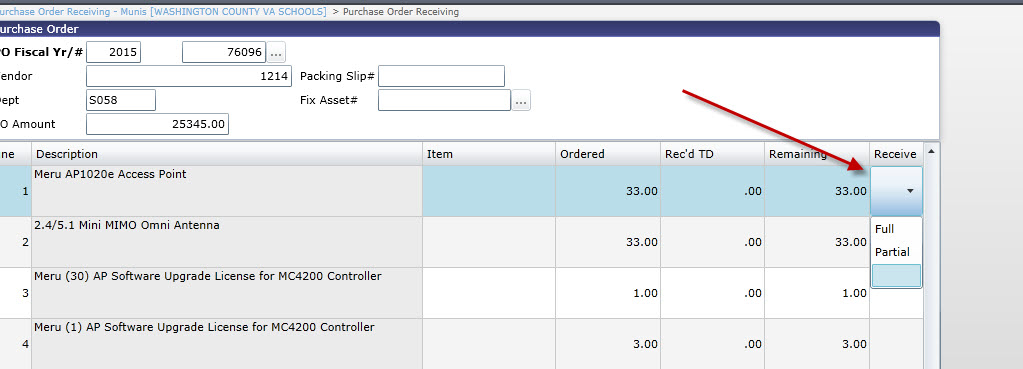
- Go through each line and mark whether you received them in Full or Partial quantities:
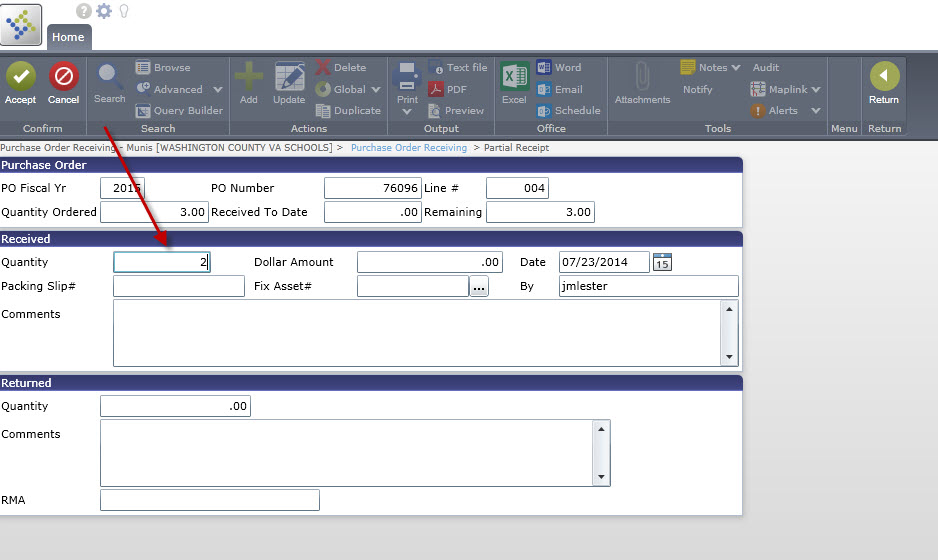
- If you mark Partial, it will ask you to enter how many you actually received:
- Once you have all of your lines marked, choose Receive from the menu:

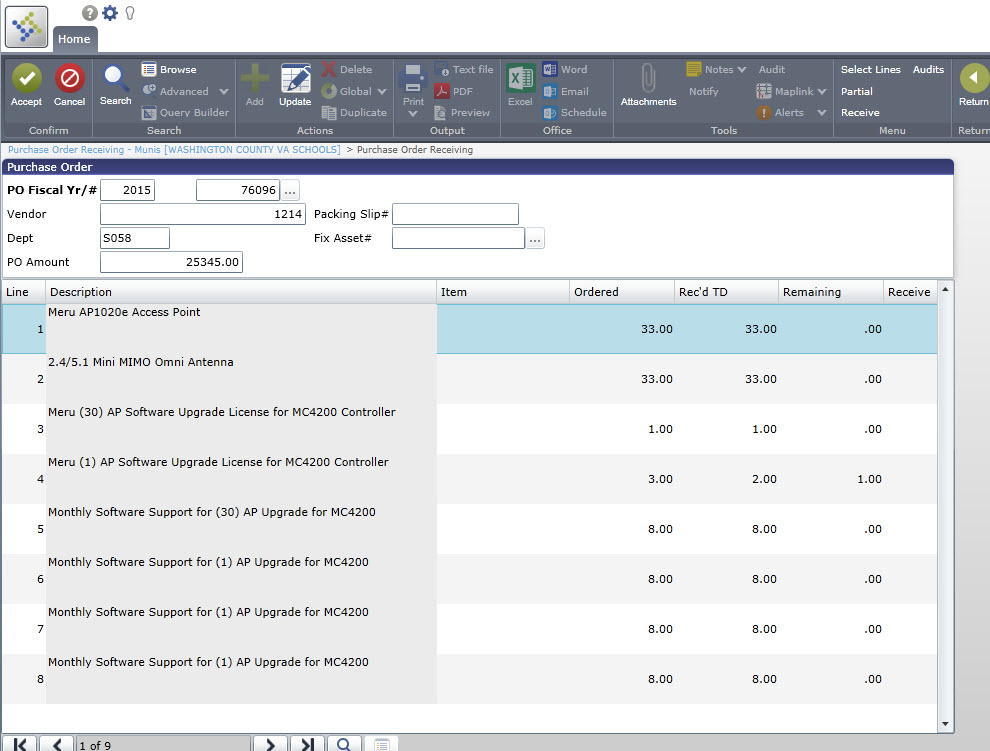
- The screen will update to reflect the quantities you marked:
munis/po_receiving.txt · Last modified: 2014/07/24 08:18 by jlester
